Changing valve guides yourself
January 19, 2025
This is the first time I have tried to change valve guides, so please take the following with that huge caveat.
Initially I had not planned to renovate the cylinder head on my 1959 Triumph Bonneville. I knew the valve guides were shot and I even had a piece of carbon that has made a dent in the seat and valve on one of the exhaust ports. But as I was in for quite a lot of money on the bottom end already I had decided to wait with the cylinder head. But then time went and I did not finish the Triumph last year. So with another winter wrenching season I thought about renovating the head as well.
Having already delivered the cylinders for boring to oversize pistons I had thought about using the same machine shop for the cylinder head. But as it is now close to a month since I delivered the cylinders I became worried that the head work would take too long to finish. This sparked idea about doing it myself and I started looking for tools to do the valve seats as well.
By some stroke of luck there was someone not too far away from me who sold an old tool set to do exactly this.
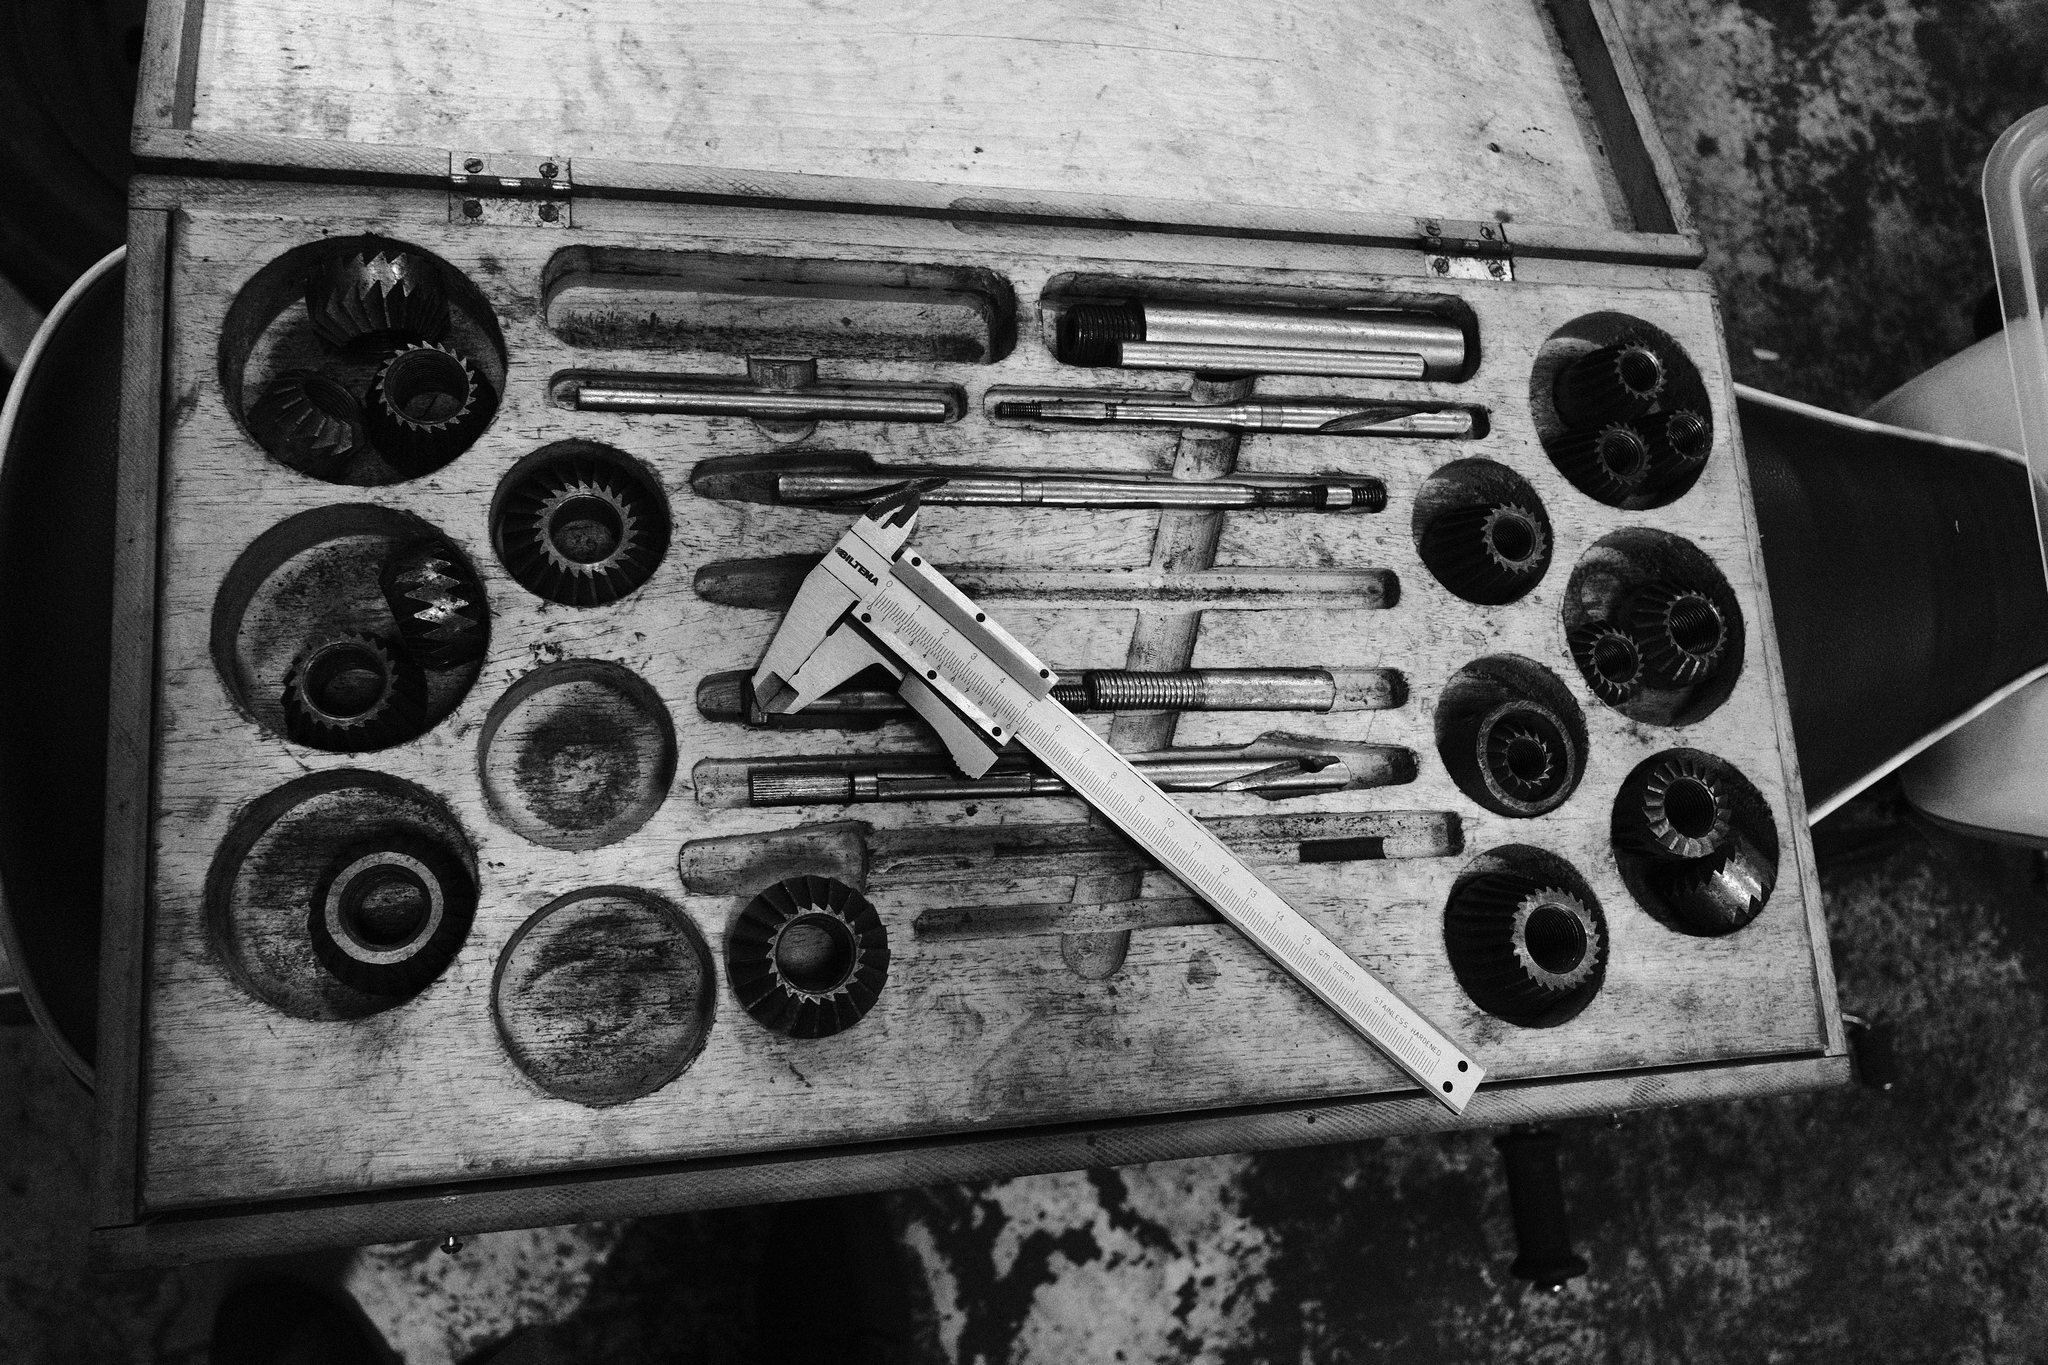
With that tool in hand I just needed to remove the old valve seats, insert new one and use the tool to fix the seats.
I looked up a lot of guides on how to remove the old seats and found two methods I could use with the tool I have available.
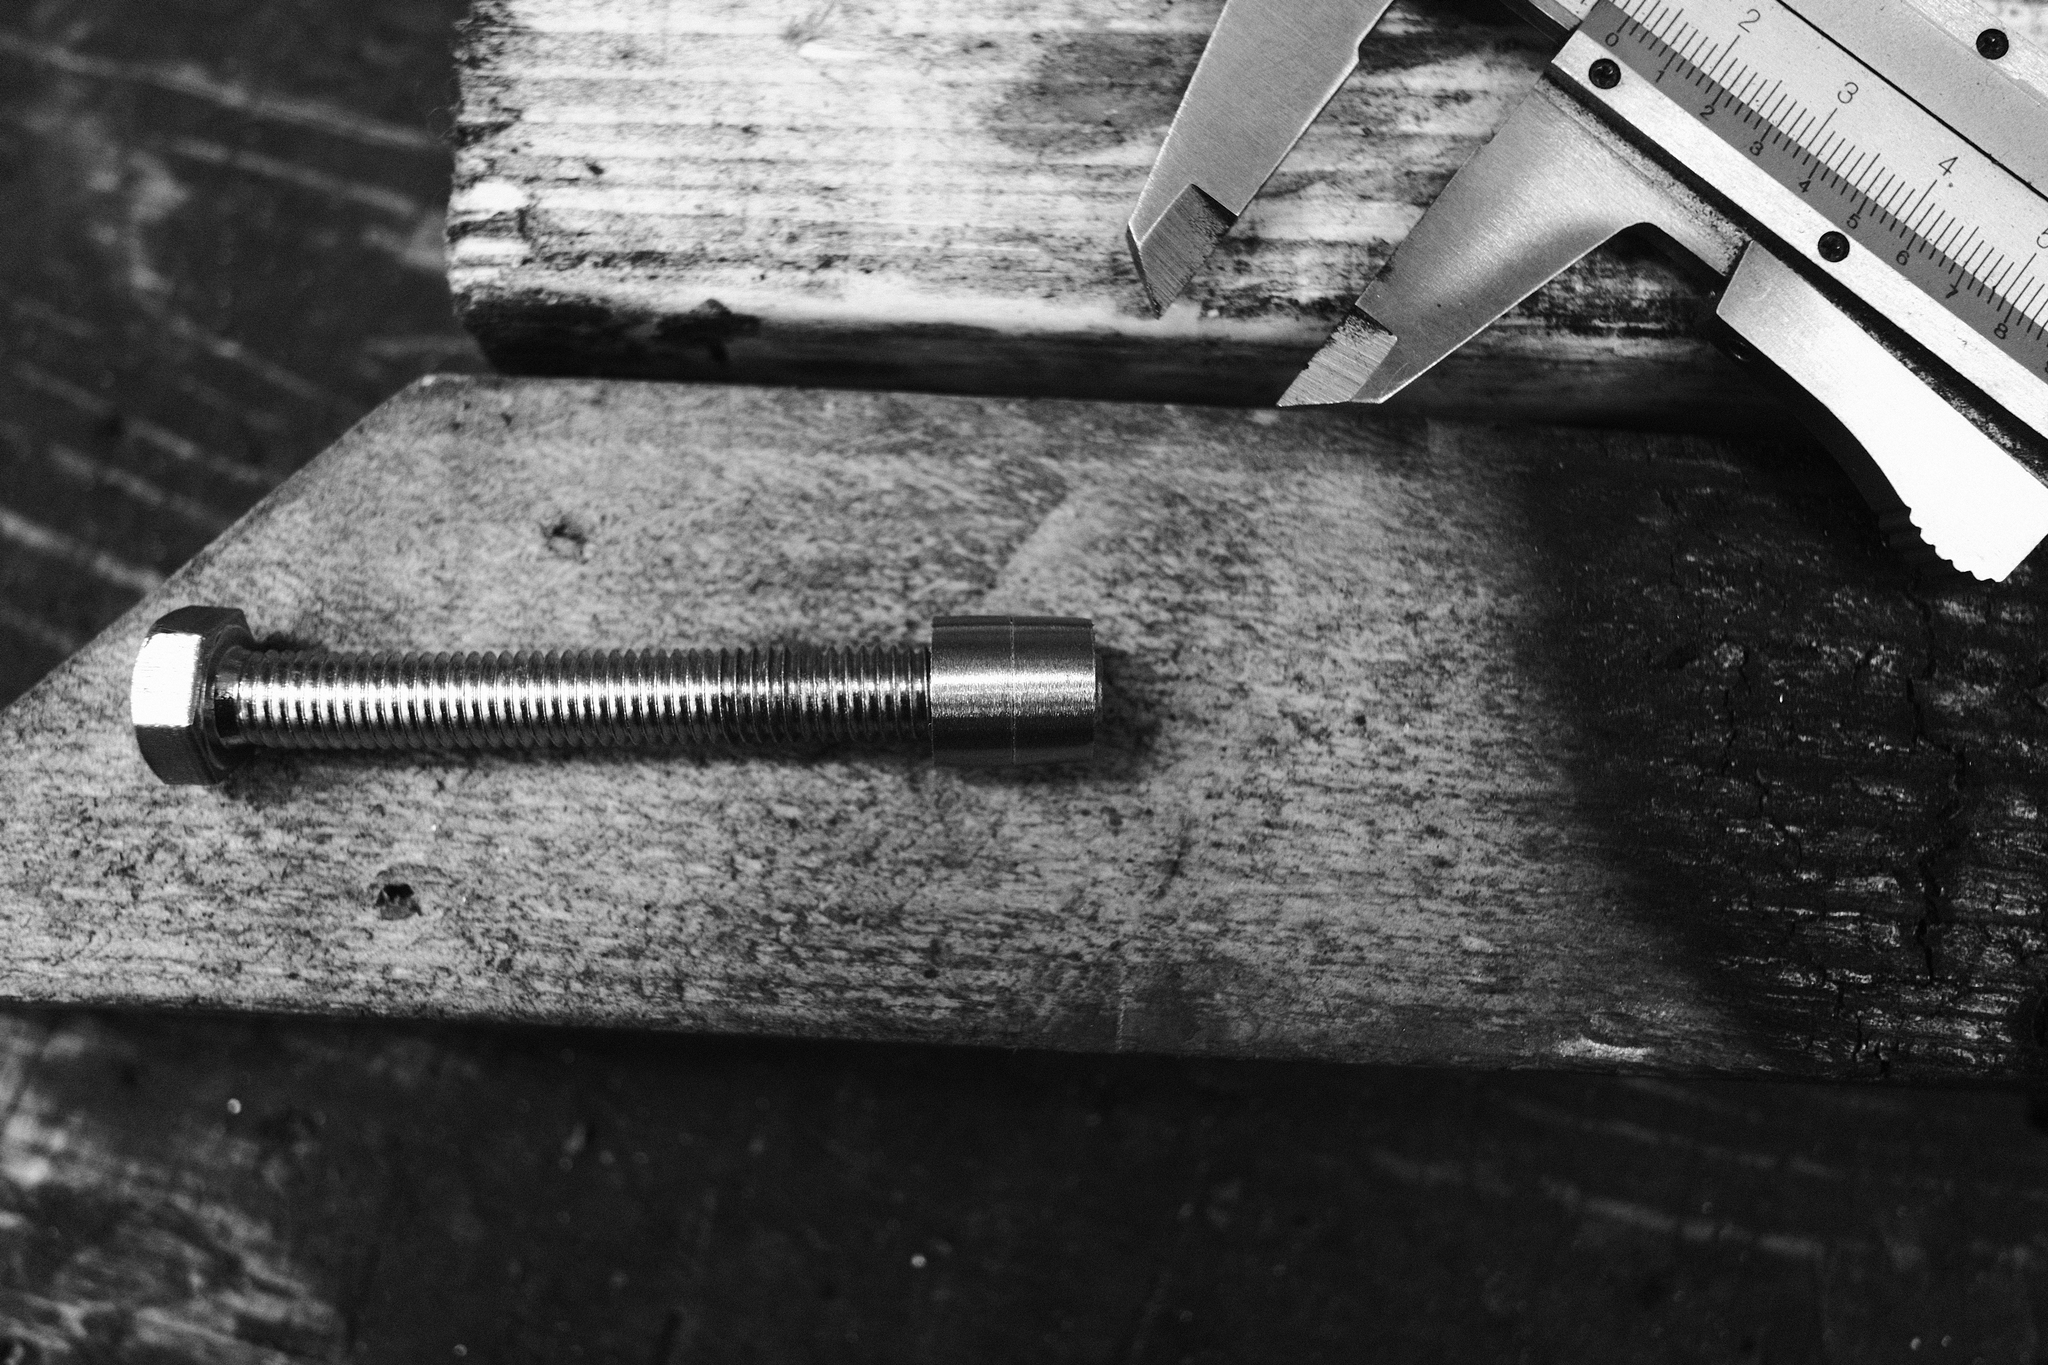
One is to hammer it through with a dovel. Here I could use a 8mm bolt that fit the guides of the Triumph pretty close.
The other is to use another 8mm bolt going all the way through the guide and with a pipe fitting over the guide and protruding past it then “pulling” it through by tightening the nut.
In the end I used a combination of the two methods.
First I blasted the head in the sand blaster. I read that it was a good idea to remove as many carbon deposits around the valve guide as posible as it could otherwise damage the cylinder head when you push the valve guides back out trough the head.
Luckily we had just got a new sand blaster in the garage recently so I could put that to good use.
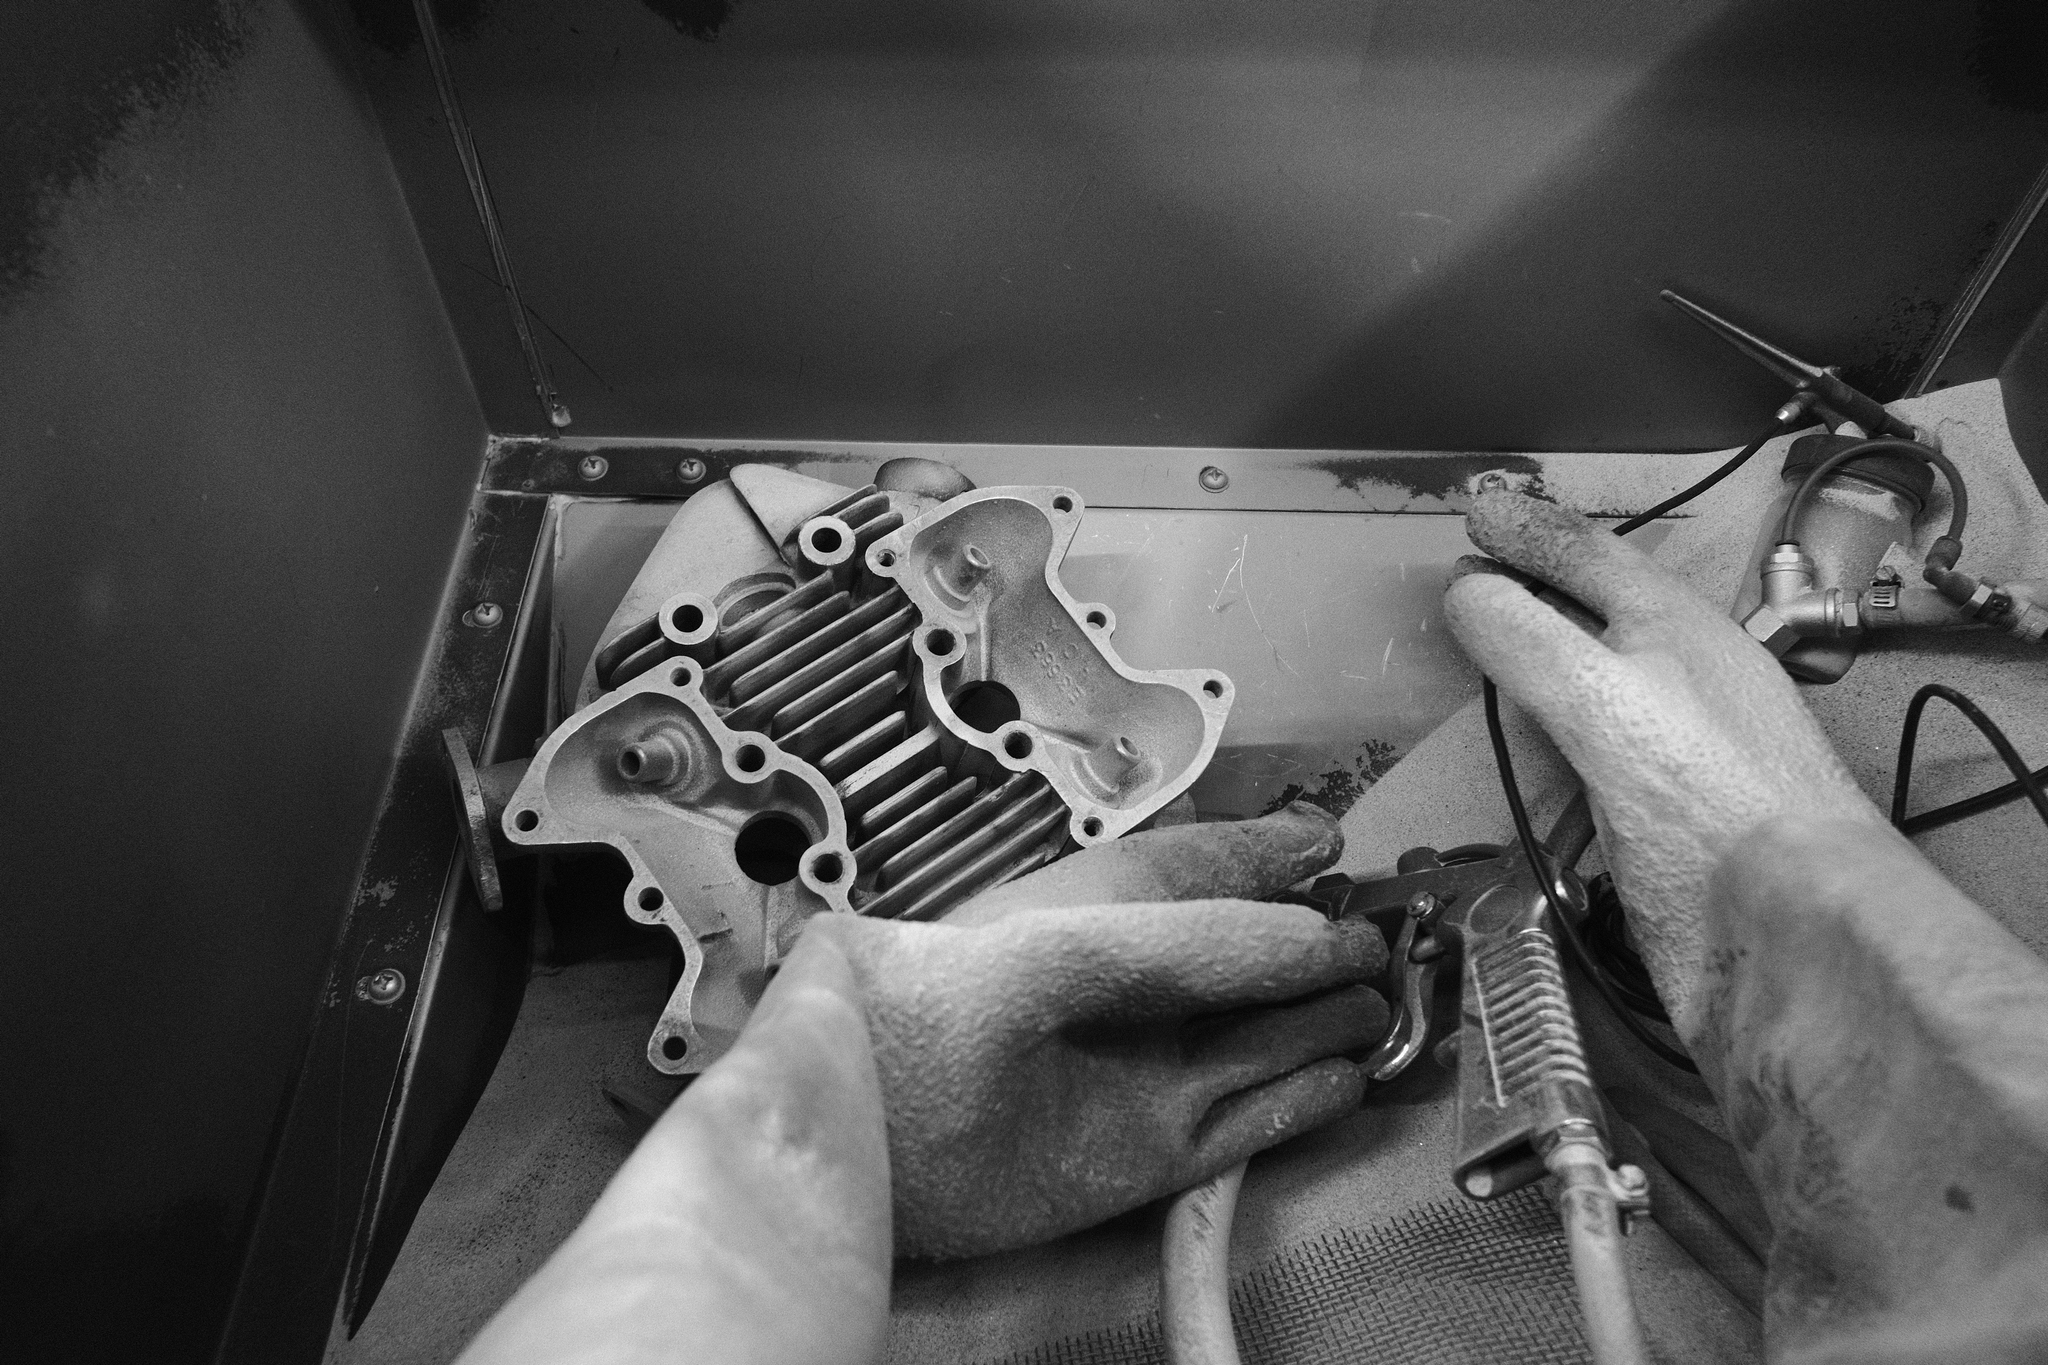
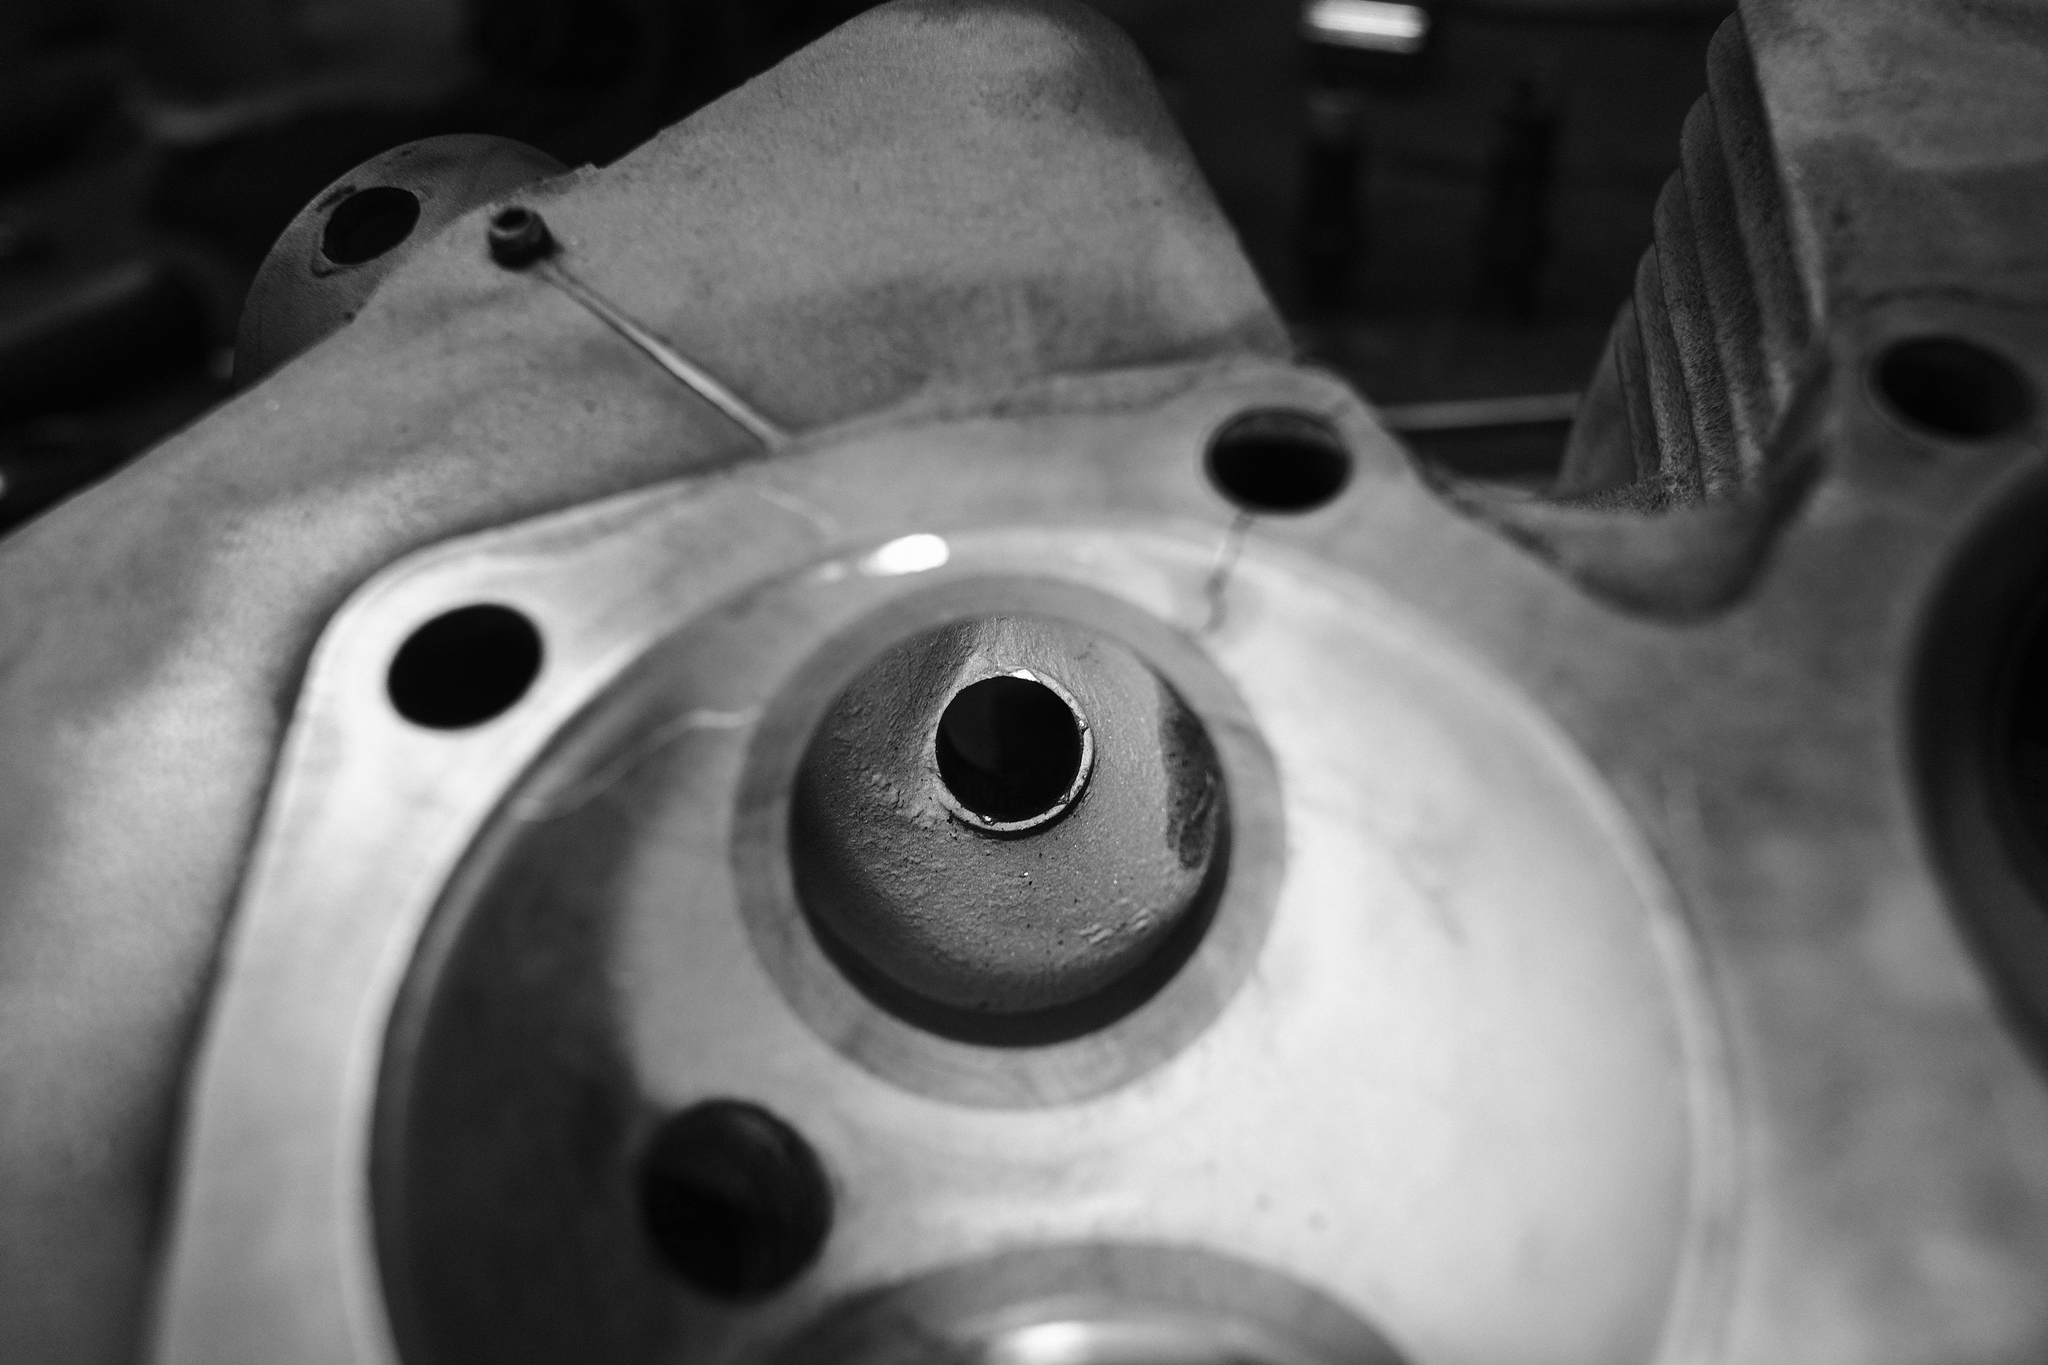
I did not make any “before” images but hopefully it is possible to see that the protrusion of the valve guides are clean and hence ready to be worked on.
Next step was to put the cylinder head in the oven. I could not find exact information about degrees, but I ended up putting the oven on 125-150 degress celcius and all in all the head was there for probably 30-40 minutes.
I had it out after 20 minutes and tried driving the guides out, but only the intake guides moved at that point, so I put it back in the oven and gave it 10-15 minutes more.
Initially when I tried driving out the valve guides I just had a 8mm bolt and a nut about halfway up so that half of the bolt went down into the guide and could help steer. This worked fine for the intake guides, but the exhaust guides were a lot more stubborn.
In order for them to move at all I tried to have a bolt go all the way through and then with a pipe resting against the head, then tighten the nut to pull the valve guide through.

They did how ever not bodge at all to begin with. But while I tightened the nut and then hit the head of the bolt, the guide started moving. I did that a few times and then switched to a strategy of hitting a bolt with a nut halfway up the thread.
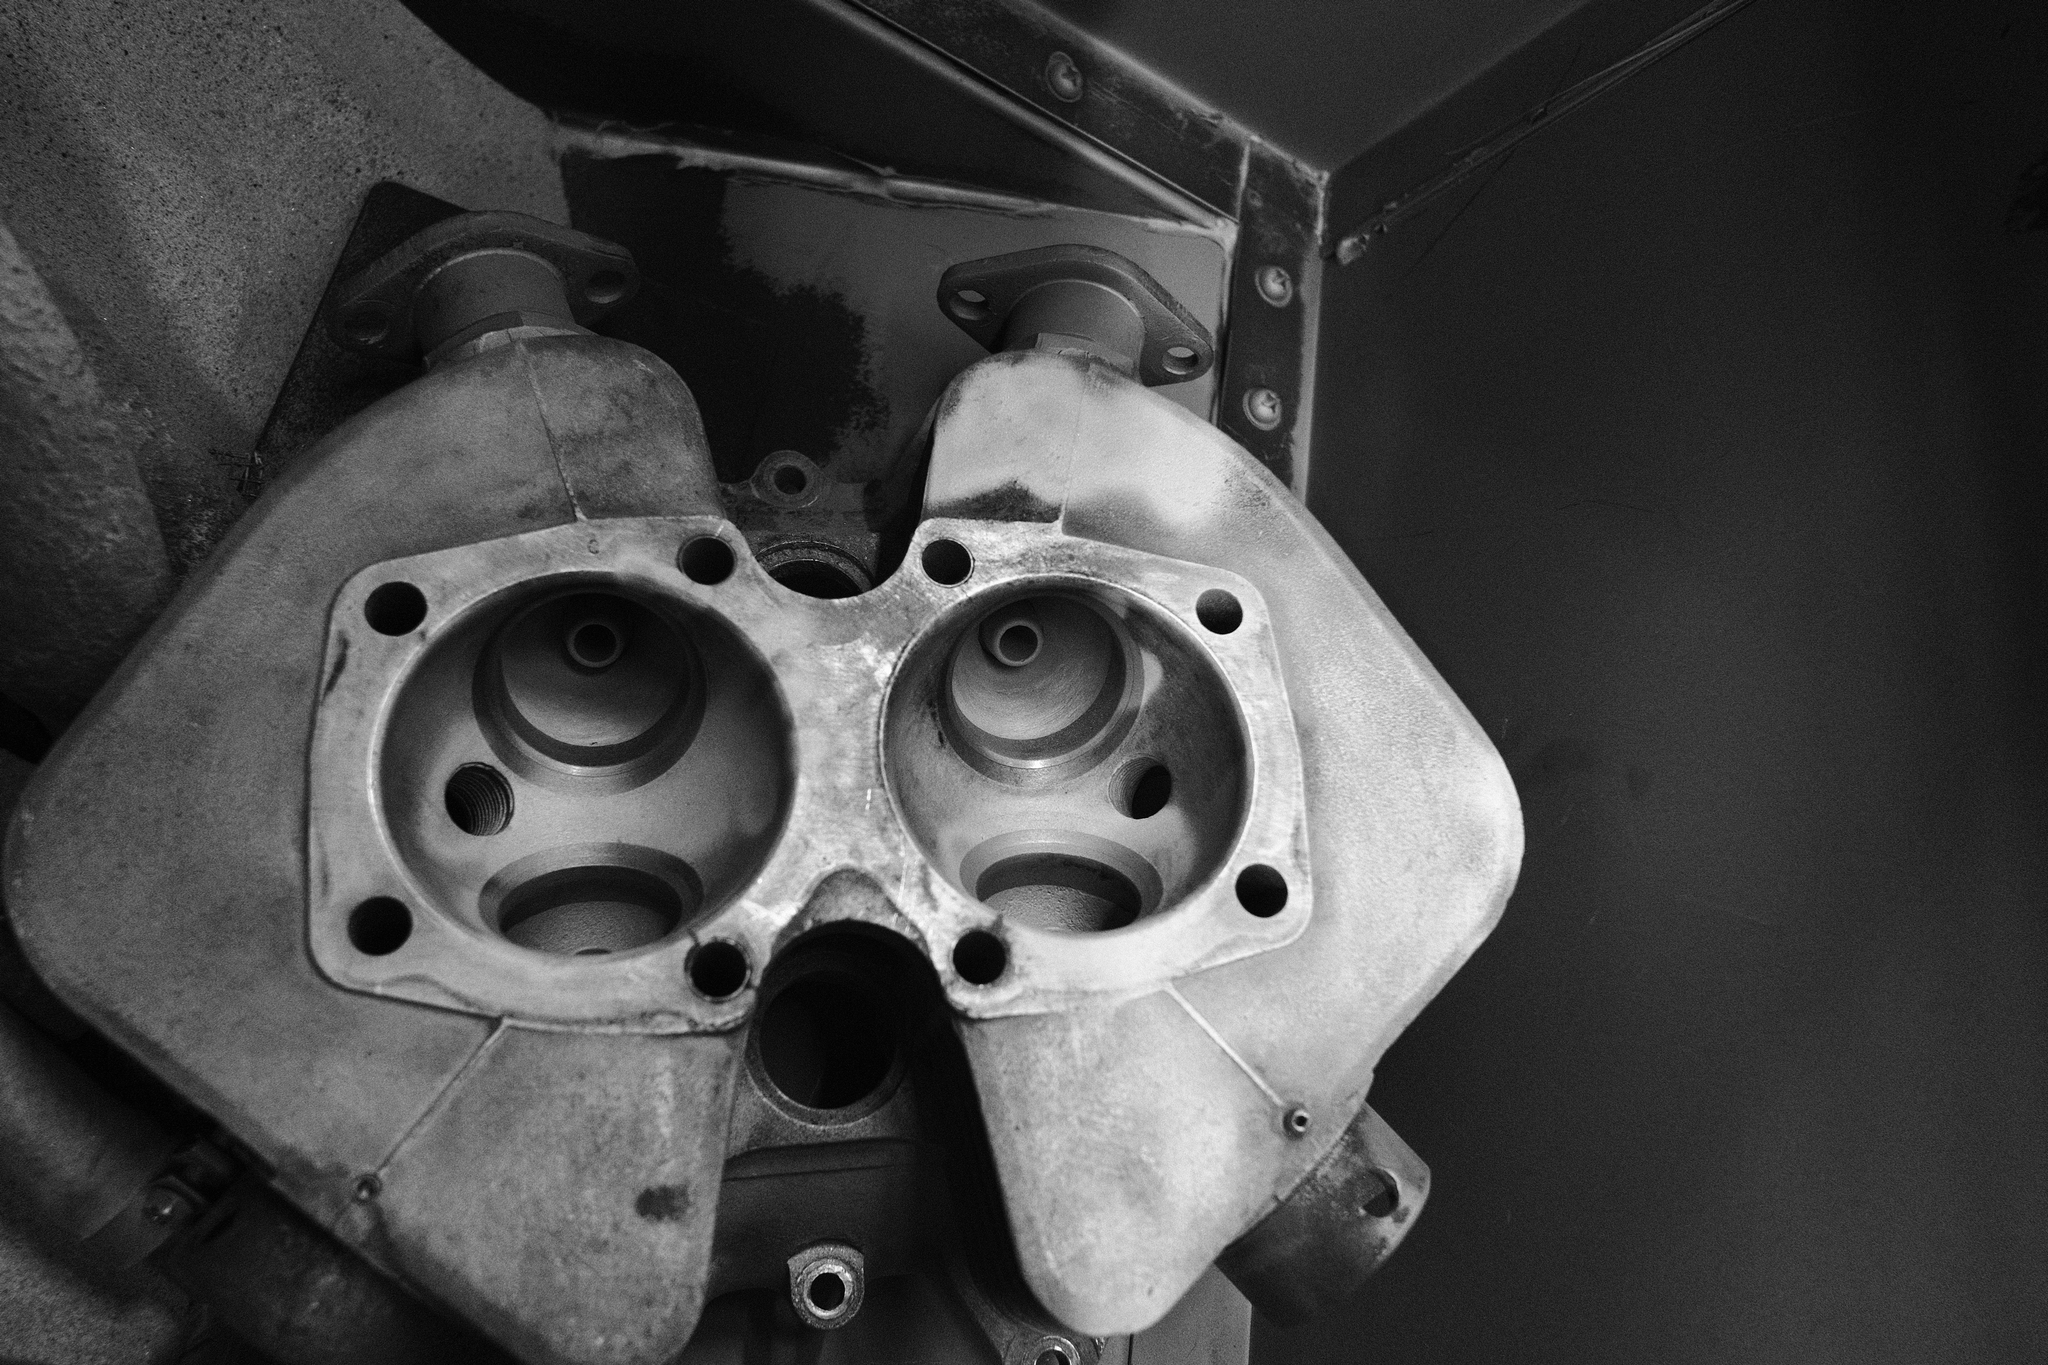
I also think this is where I made the first mistake. While hitting on the bolt with a hammer it slipped and I made a mark in the area between the combustion chamber and the gasket surface.
I should have either used a long dovel made for the job or I should have used an umbraco bolt and then a long dovel inside that to drive the valve guide out. Then the blows from the hammer would be further away from the head and hence the risk of me hitting it diminished.
The next issue was that I only has 30-40 mm of thread inside the valve guide to “steer” as I had put the nut half way up the bolt. Hence when I really had to hit it hard to drive the exhuast guides out, I bend the mouth of the valve guide slightly. This was mistake number 2. The bolt should have been almost all the way through the valve guide to steer the force of the blow as much as possible.
At this point I needed to grind down the nut in order to have it follow the guides all the way through the cylinder head.
So I once I had ground them I threaded them almost all the way up to the head to have as much “guidance” from the bolt through the guide as possible.
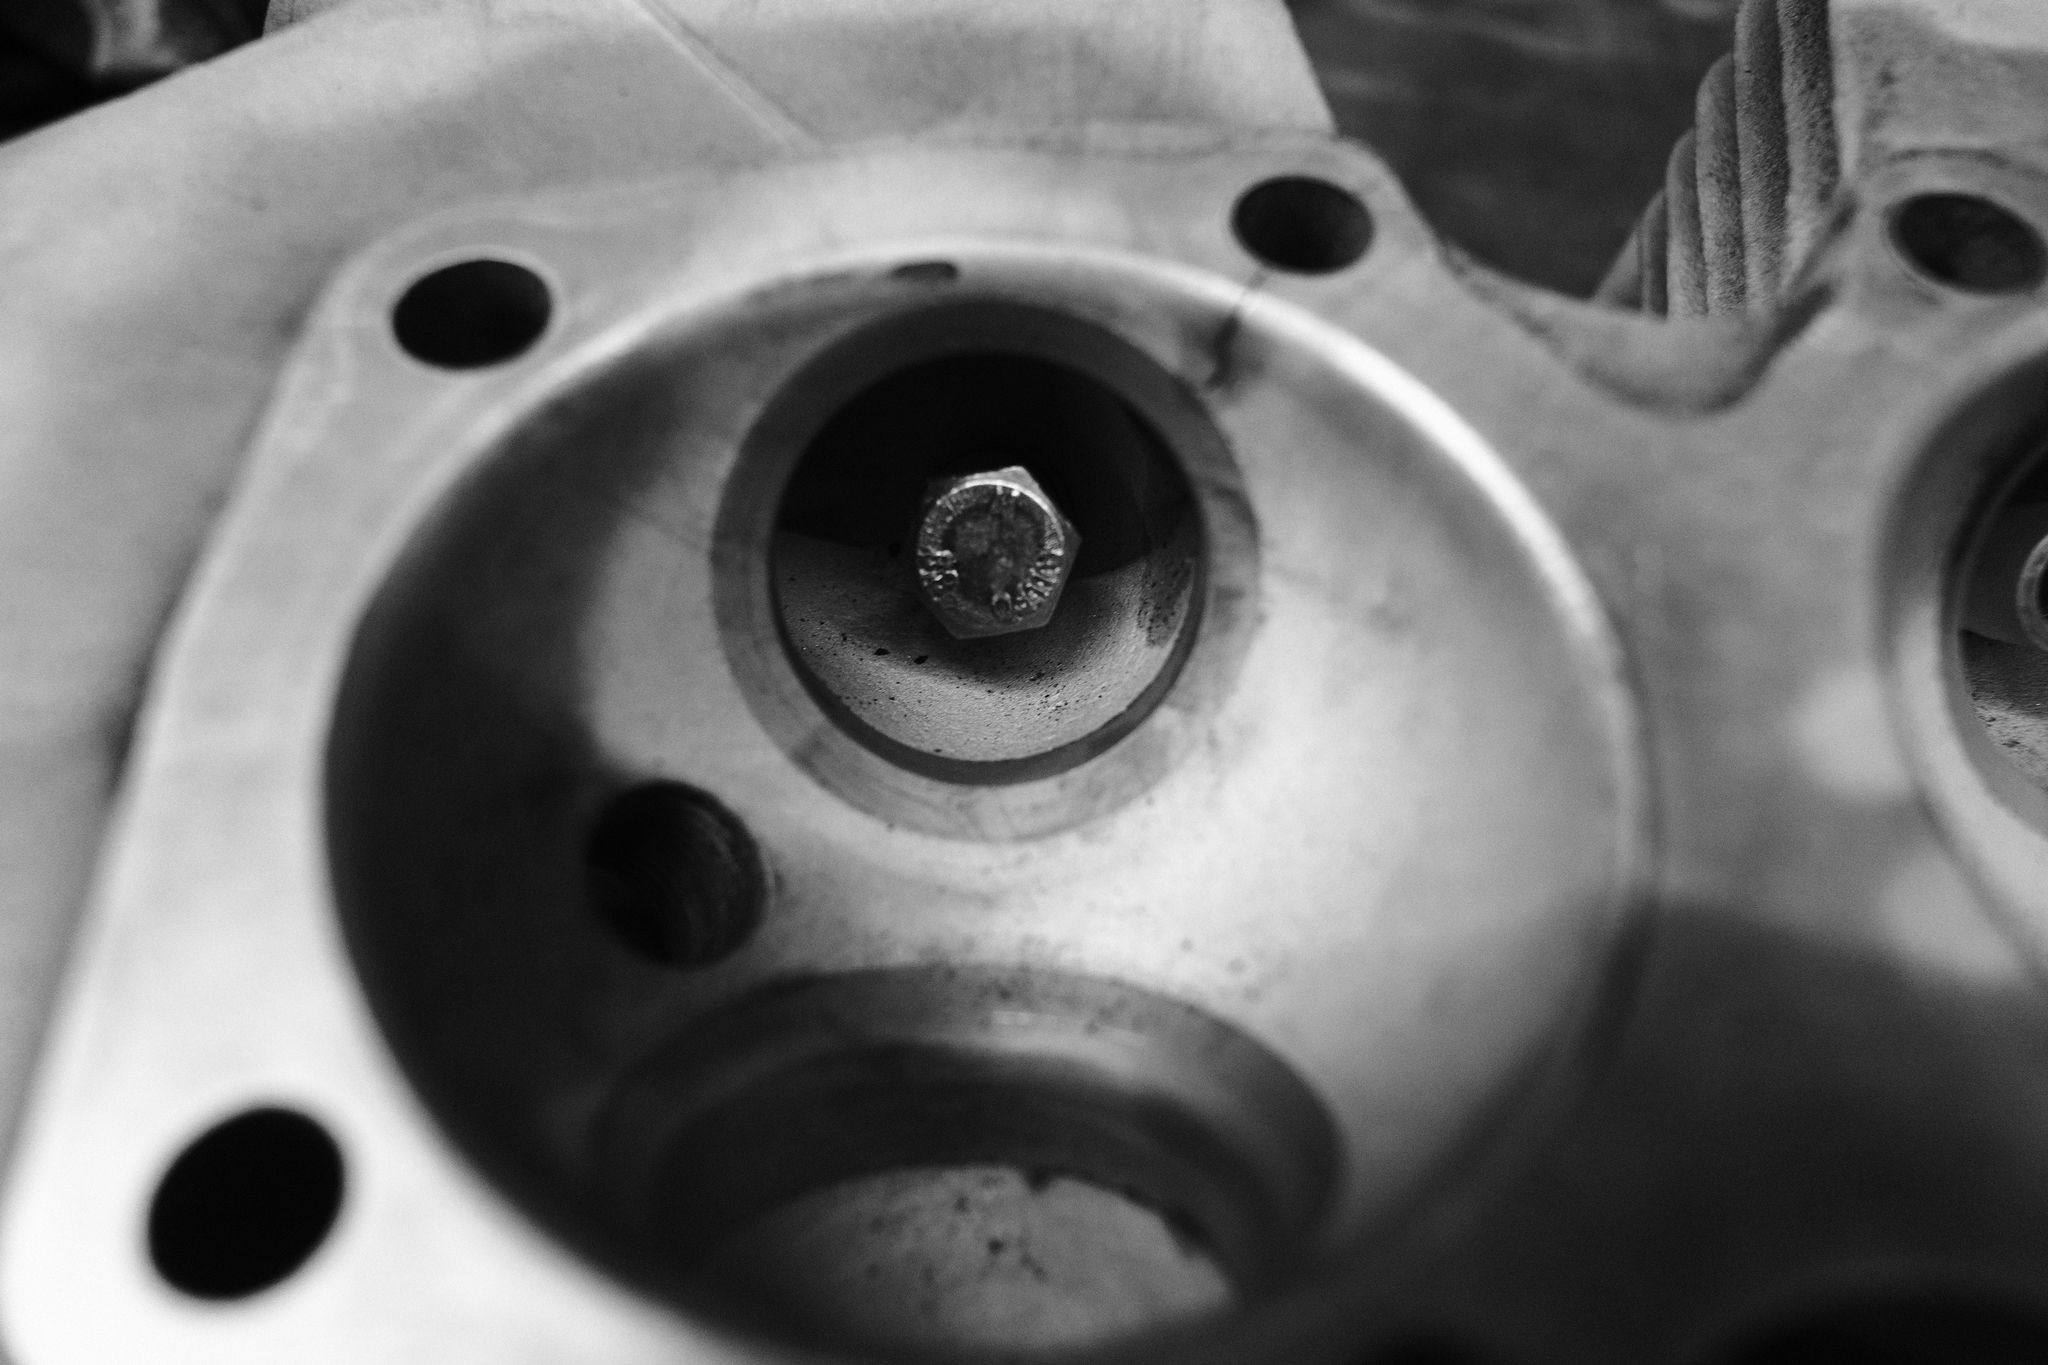
This worked, and I got the exhaust valve guide out, but I made a slight mistake here as well. Mistake number 3.
If you look at the hole where the valve guide was on the picture below you can see marks from the head of the 8mm bolt hitting the surface.
I should have used an umbraco bolt or ground down the head of the bolt to make it go through the hole together with the valve guide.
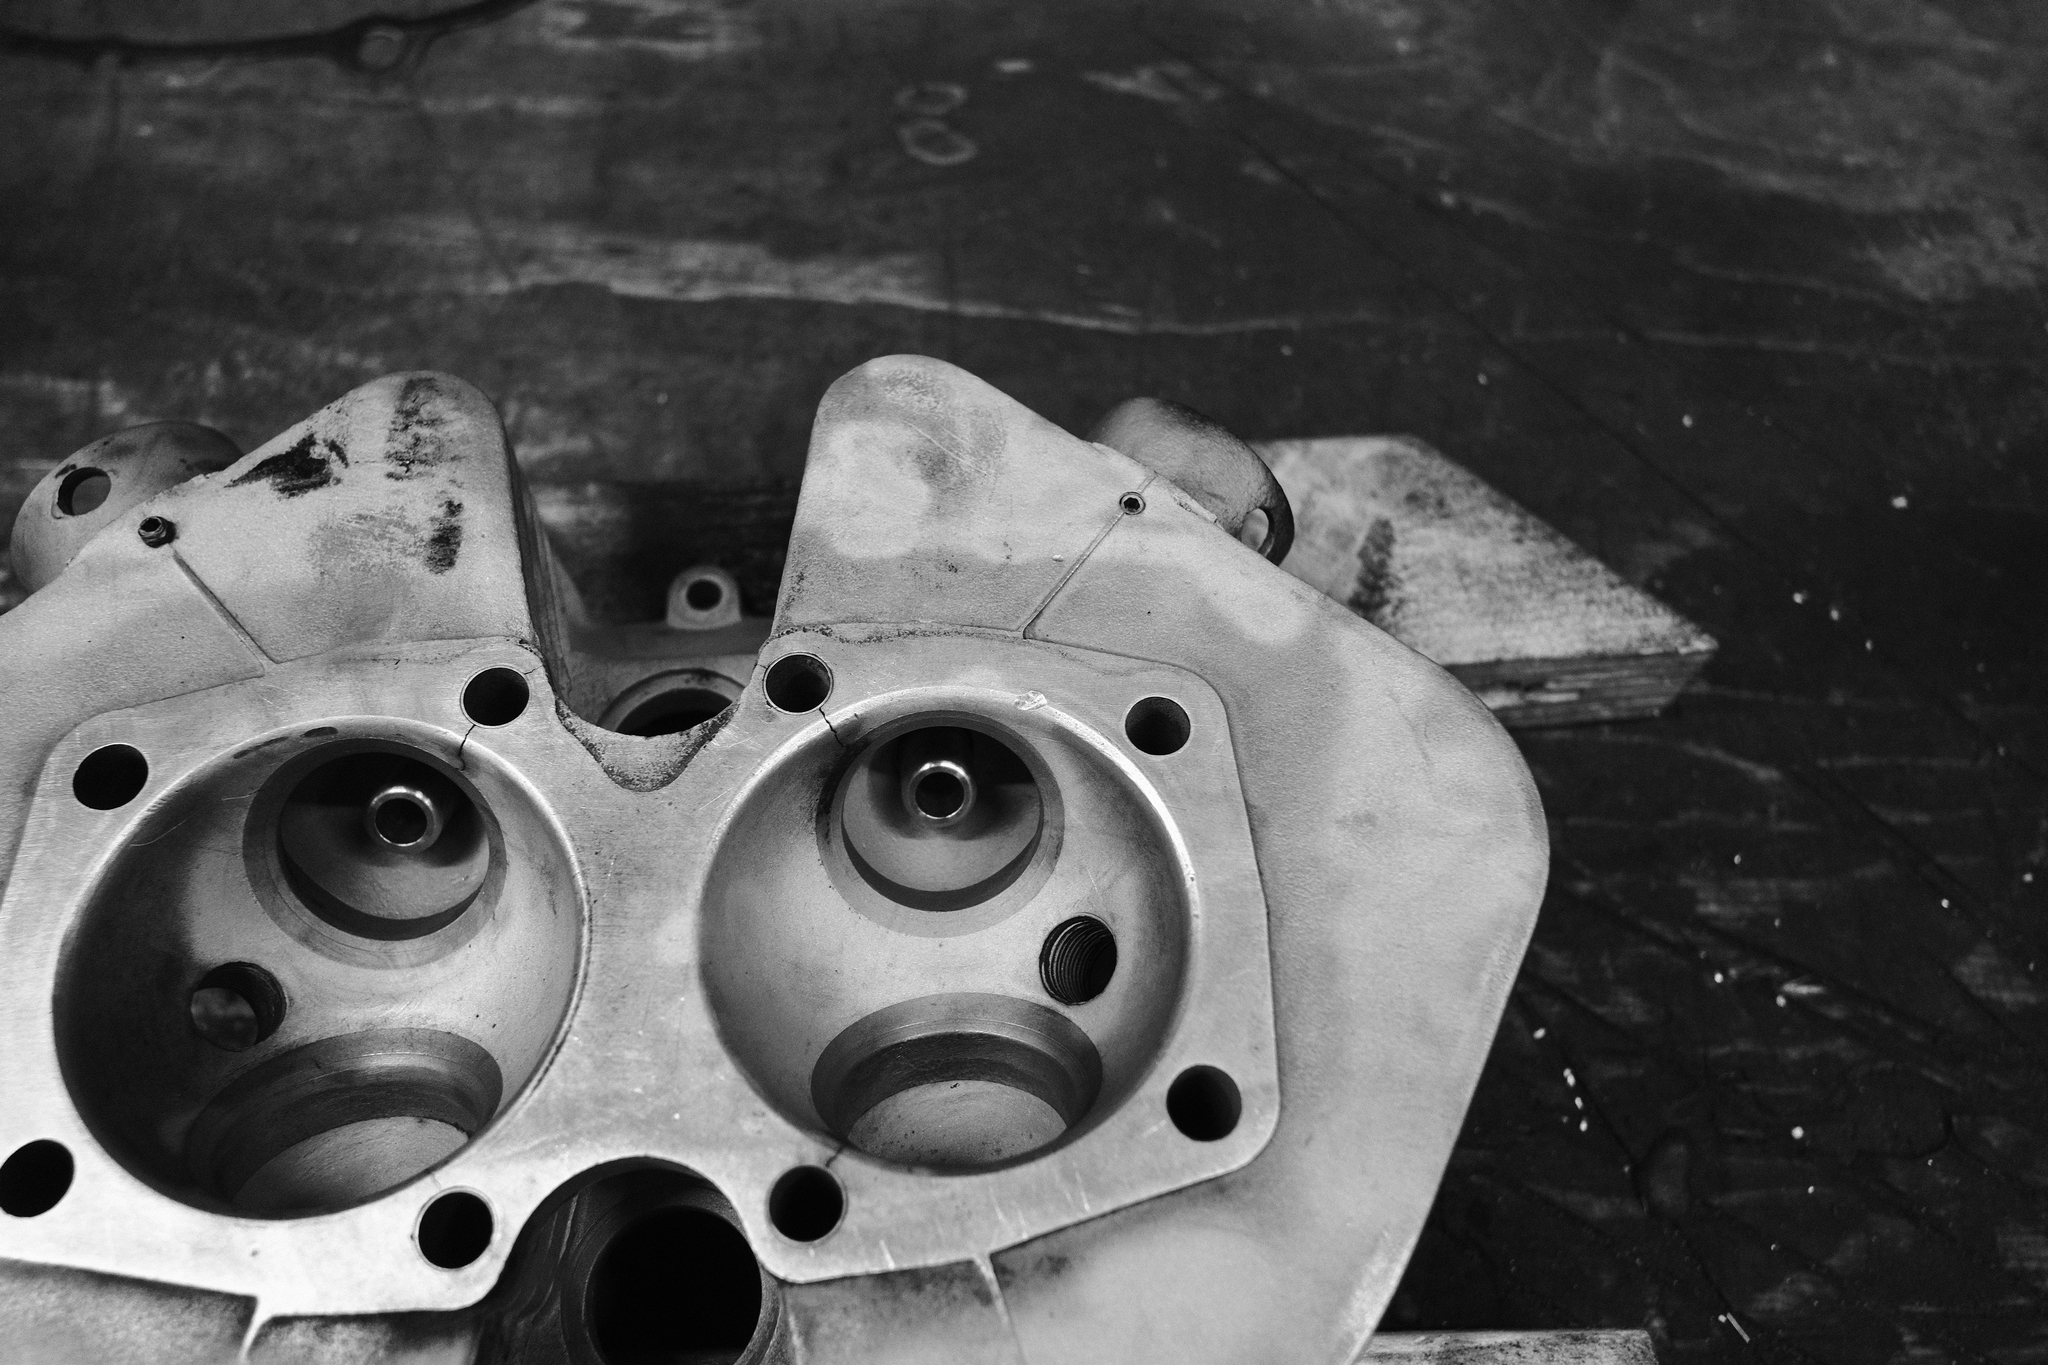
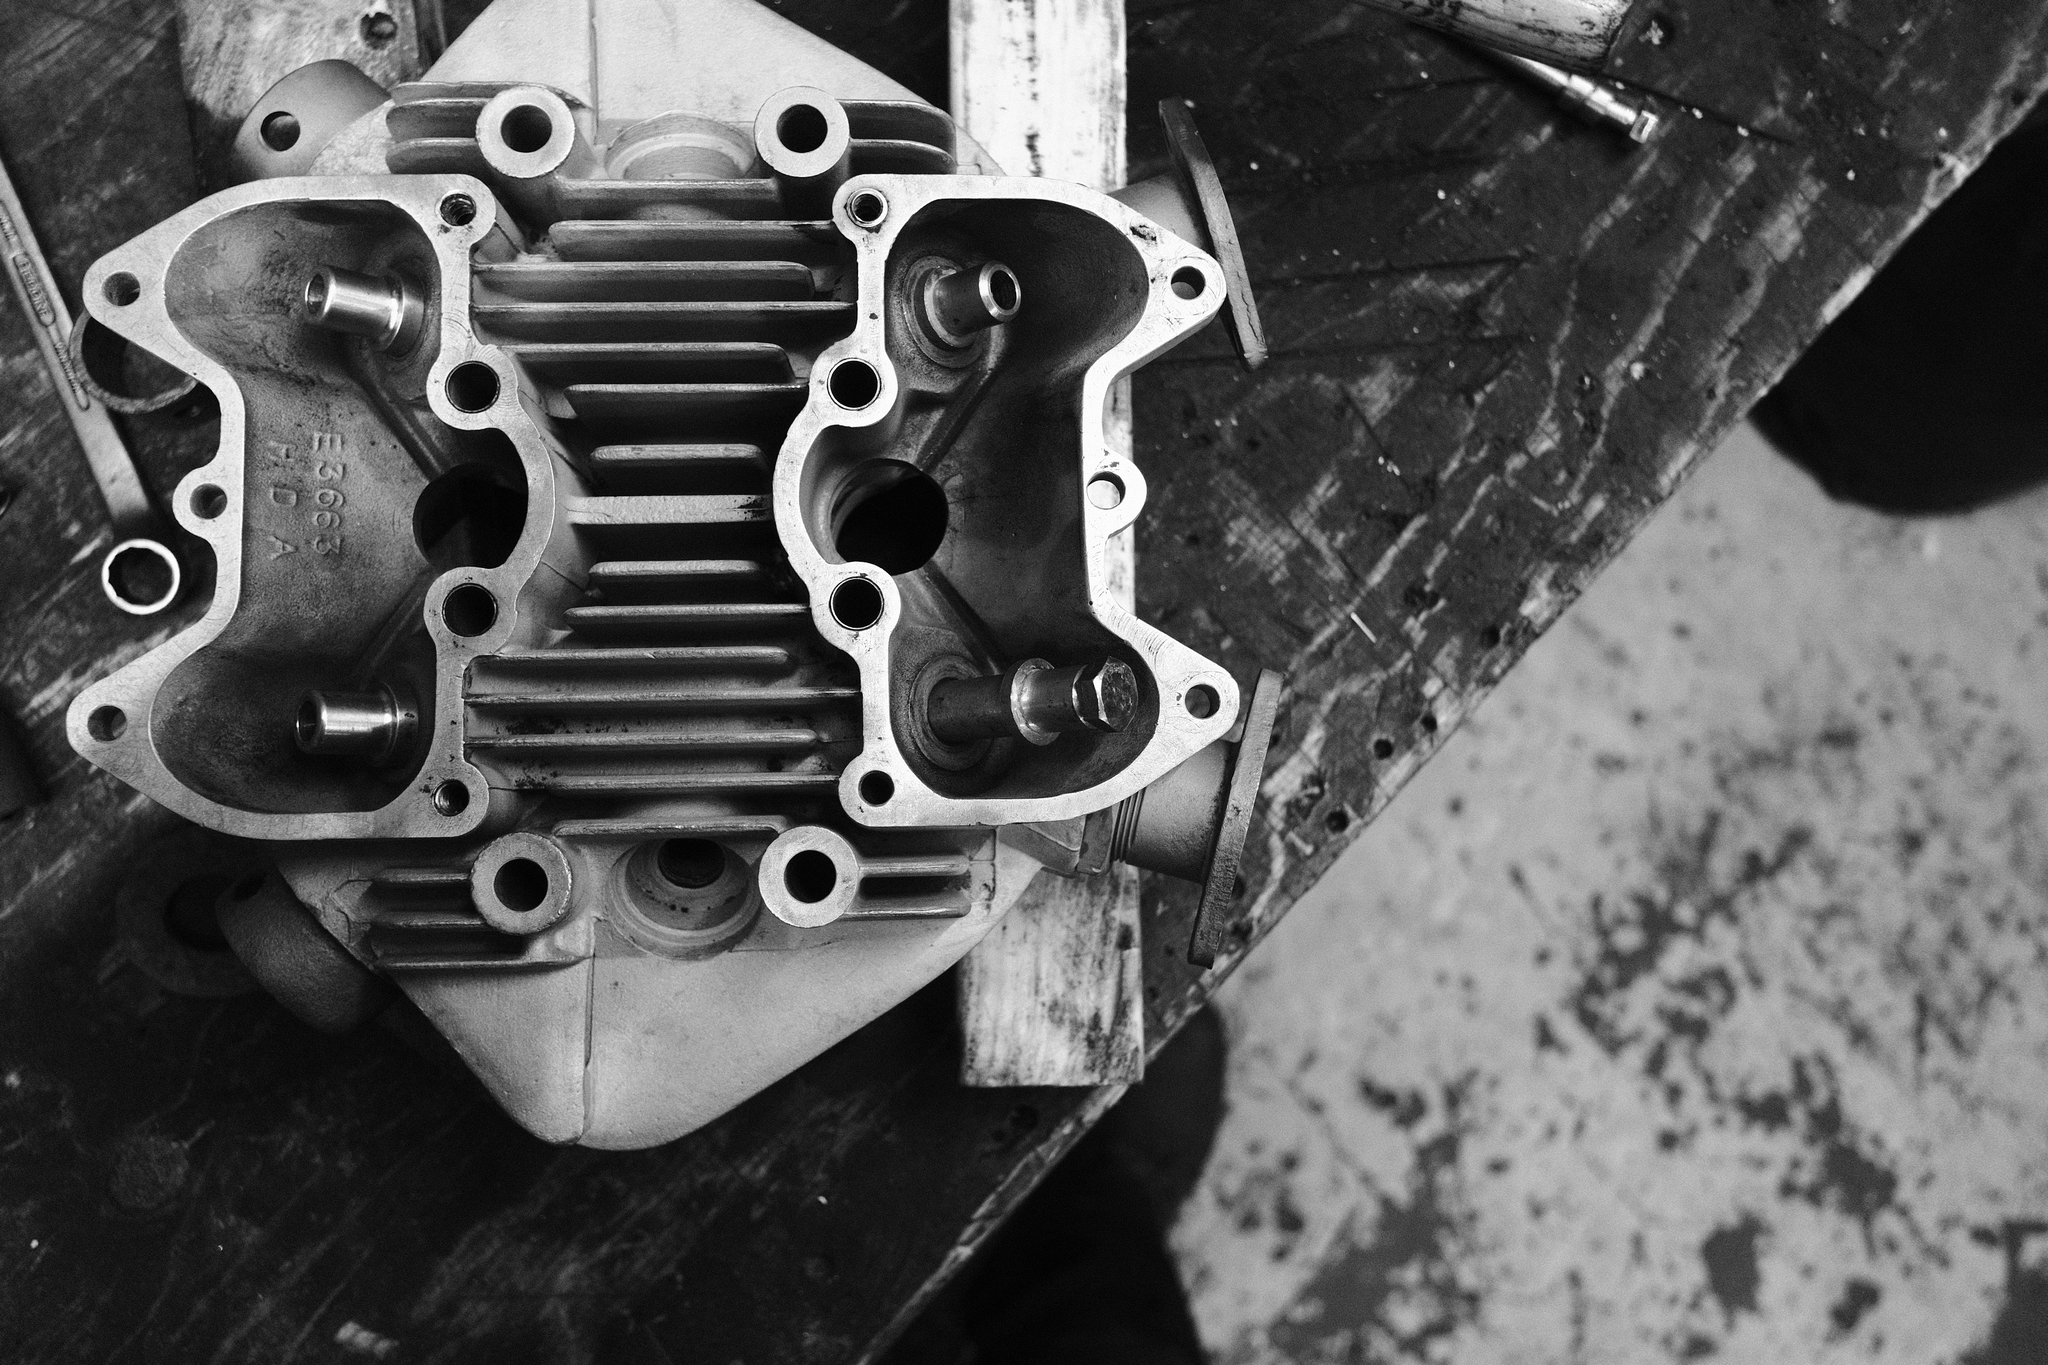
But with those lessons archived I had all the 4 guides removed.
Now I just needed to install the new ones.
I had put the new guides in the fridge about the same time as I put the head in the oven. Unfortunately we do not have a freezer at the garage, so I had to make do with the fridge. Putting them in the freezer may have kept me from doing mistake number 4, but then I would not have learnt from that mistake.
To drive the new guides in while the head was warm and the guides were cold’ish, I used an 8mm bolt again, this time inserted all the way through and then used a dovel on top of it which I hit with a hammer. This worked fine and they went in without too much effort.
Or at least I thought so. Because once I had all of them installed and I tried to put a valve through I could feel a bit of tension right around the edge of where the bolt head had been and where I had been hitting. So the blows had been enough to make a slight collar at the edge.
I should have found an aluminum pipe that fitted outside the guide and onto the collar of the guide. That combined with a freezer could have made the installation easier and avoided me having to ream the holes for the valves.
Now I had to buy a reamer for the valve guides in order to make sure that they have the right fit with the valves.
In some way I should have been annoyed by all the mistakes I made during this change of valve guides. But as I have been thinking about starting a business or working with engines at a shop, these mistakes suddenly appeared as learnings that I was happy I had on my own material.
If I had made the same mistakes on another persons engine then I would have been really embarressed. Now I learned the lessons and had fun doing so.
The best learning environment.
Now the next job is using my newly bought used valve seat tool to do the valve seats.
That will probably be what I write about next.
See you then.